Process
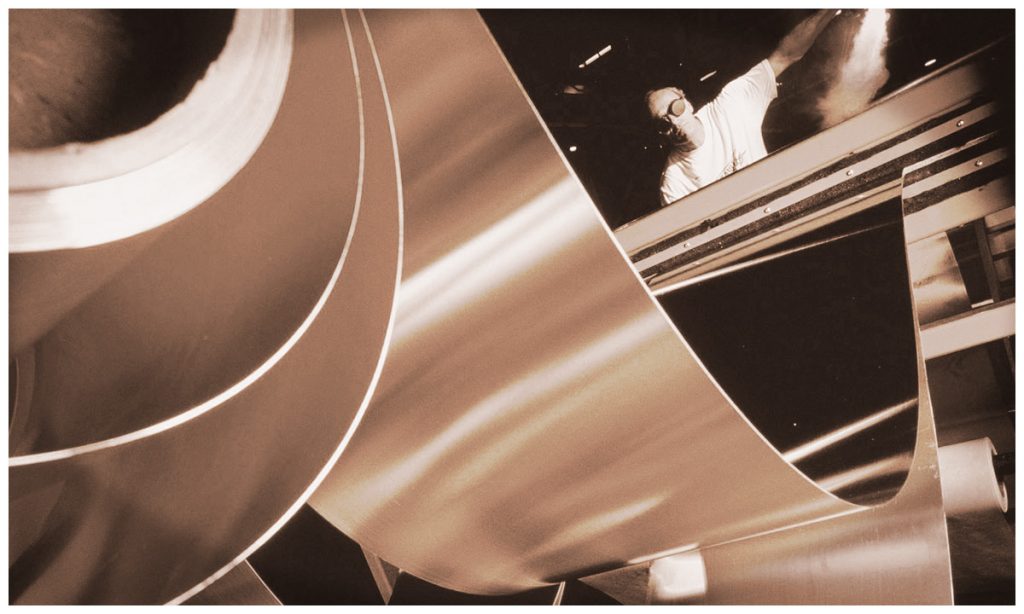
1. Sheet Metal & Cutting
The first stage of manufacturing a William Holland bath is to source the copper (or brass) sheet. All of our copper is 99.999% pure. We use sheet of varying thicknesses, from 10 – 16 gauge, depending on the design of bath and where the sheet is to be used. The sheet is then marked out using our templates and cut to size ready to be shaped, welded and brazed.
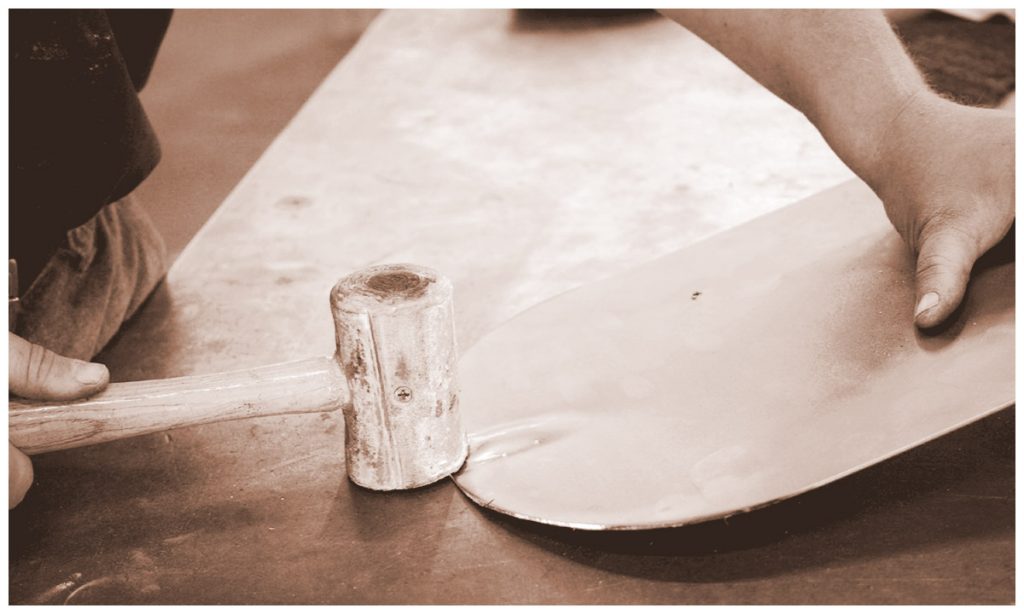
2. Shaping, Welding & Brazing
There are no shortcuts when it comes to creating a William Holland bath. All of the curves and bends are made with no more than a hammer, a keen eye and a strong forearm. This part of the process happens in our factory in India where these skills have been passed down through the generations for many hundreds, if not thousands, of years. Once the component parts are shaped they are joined together using a combination of fusion welding and brazing. It is then back to the hammers for the final fettling.
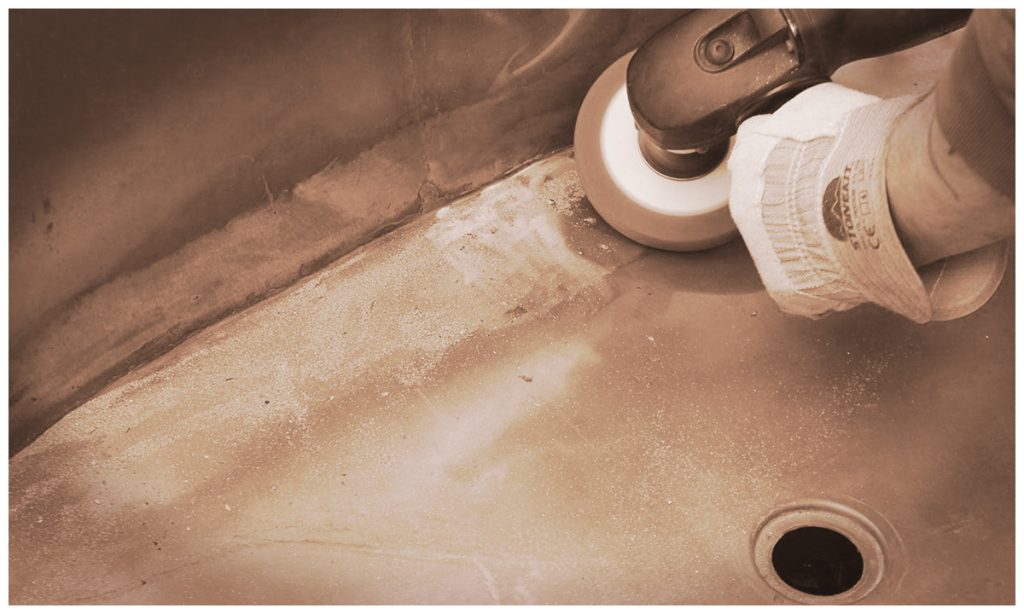
3. Grinding & Linishing
During the previous stages of manufacture the perfectly smooth sheet copper has been subjected to some pretty serious punishment and so now it needs all those rough edges smoothed back out. At this stage all of the joins are now ground down to remove any high points and prepare for linishing. The whole bath is now linished, which is a process of coarse polishing to remove any scratches or deep hammer marks from the shaping process.
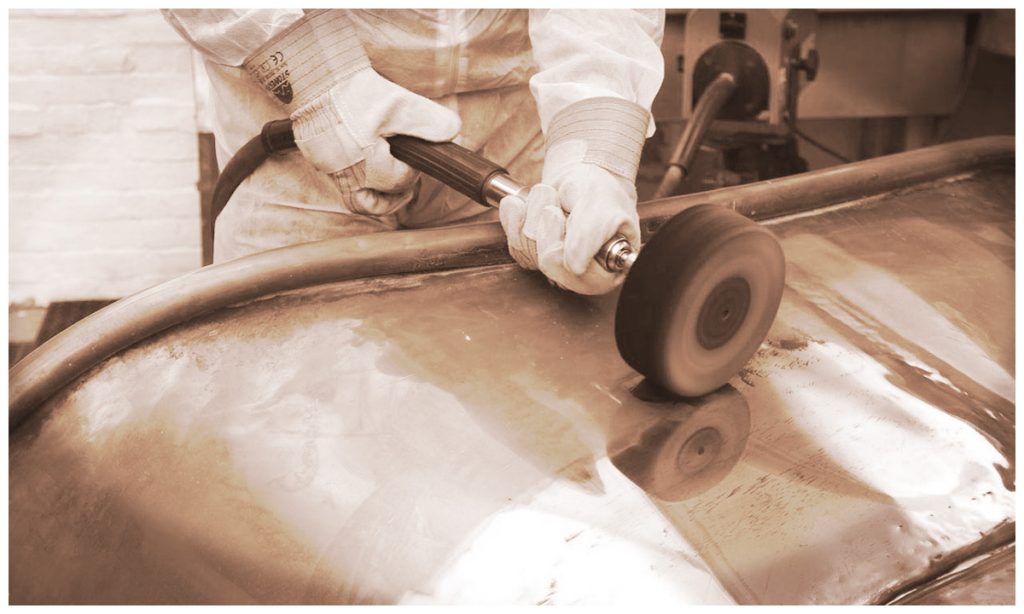
4. Polishing
At William Holland we have developed our own in house seven stage polishing process. This involves, as you would presume, the entire bath being polished inside and out seven times. The first stage uses a sisal mop which is very coarse and removes the fine linishing scratches. The second stage uses a cotton mop caked in a coarse polishing compound to remove the even finer sisal scratches and so on and so on…… until the final polish is by hand using liquid polish and soft cotton cloths, this is carried out in our workshops here in Dorset.
5. Coating
As a rule most of our customers like their shiny copper and brass to stay shiny so to stop the natural oxidisation these finishes are coated with an aviation grade lacquer. The polished surfaces are degreased to ensure a strong bond and the lacquered bath is put into an oven and cured for 4 hours.
6. Nickel Plating
Nickel is applied to our baths using the much more modern technique of electroplating. Again the copper must be clinically clean to ensure adhesion before the liquid nickel has an electrical current passed though it which leaves behind deposits of solid nickel. At William Holland we use a selective plating system (again first developed for the aviation industry) which uses far less chemicals than the usual “dipping” process. Electroplating gives a much smoother, shinier finish than tinning.

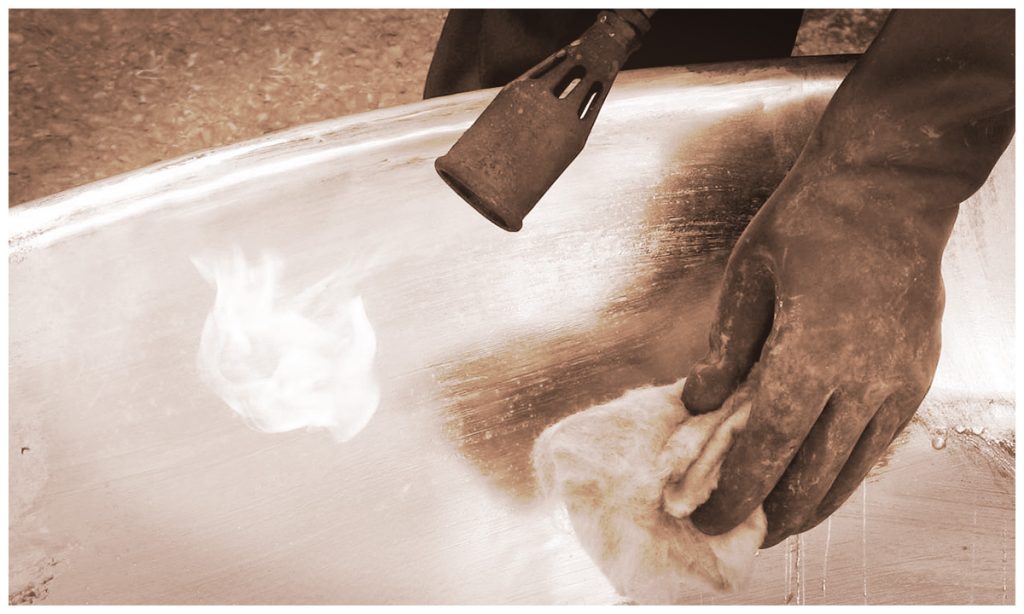
7. Tinning
Tinning copper to protect it from tarnishing is as old as the hills. These days it is used more as a decorative finish but the techniques used to apply it are pretty much the same. The copper is heated through and flux is used to remove any impurities from the surface which would stop the tin from running onto the copper. Solid tin is deposited onto the hot copper and melts on contact. It is then wiped evenly over the surface using “moleskin” rag which gives a textured finish. Of course we use synthetic material so no moles are injured in the making of our baths!
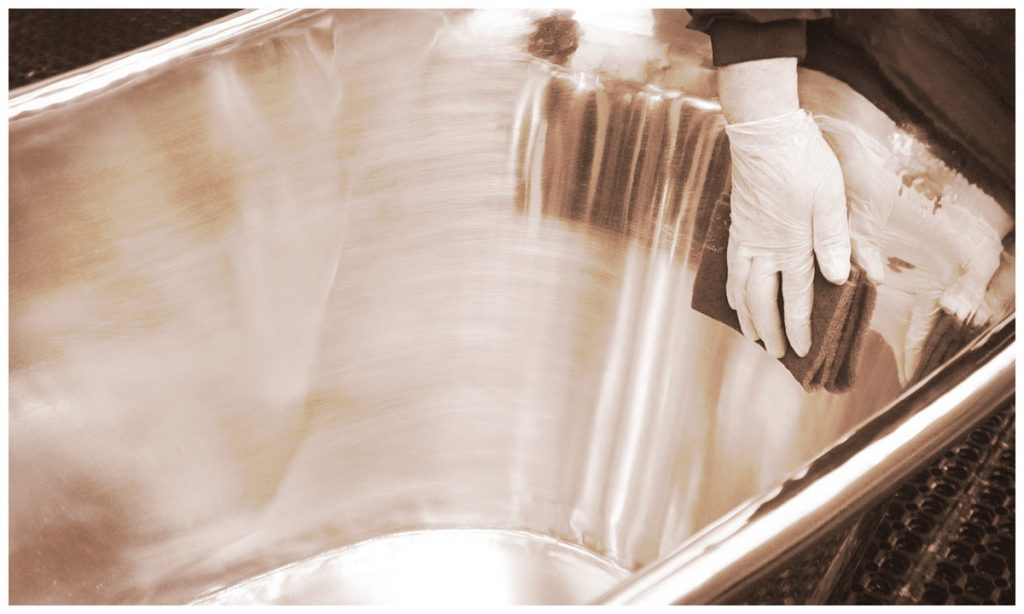
8. Brush Finishing
Brushing is used to give copper, brass or nickel an understated satin finish. All the rigorous polishing and/or plating techniques mention previously are carried out before the fine, uniform grain is left on the surface using handheld abrasive pads.
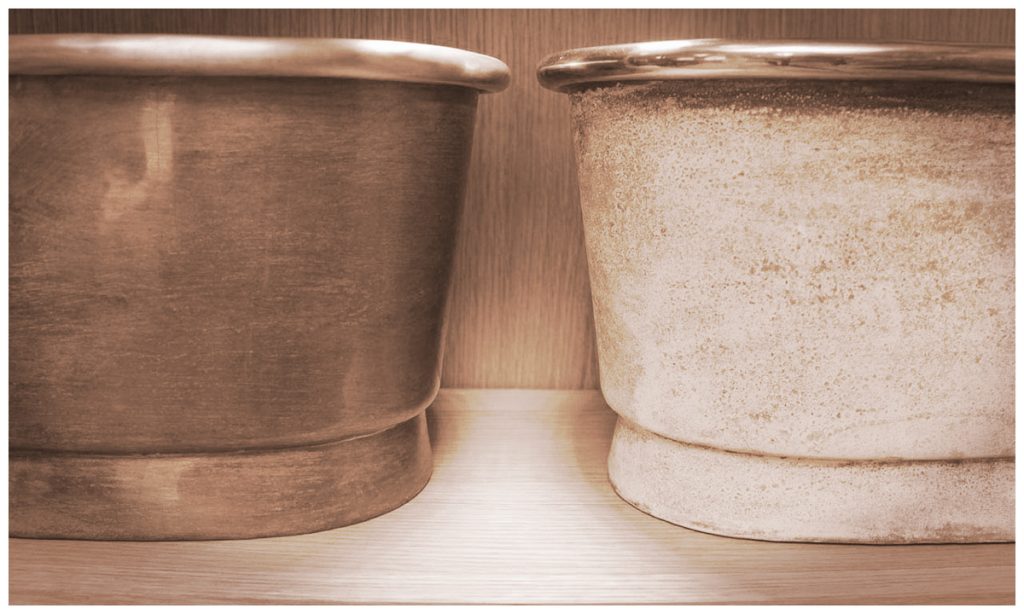
9. Patina & Verdigris
While some of customers prefer shiny copper others are drawn to the rustic look of weathered copper. Our patina finish is the equivalent of about 3-5 years of natural aging, with the verdigris being more akin to several decades of aging. Obviously you won’t have to wait this long for your bath as we accelerate the natural oxidisation process using our own secret recipes.
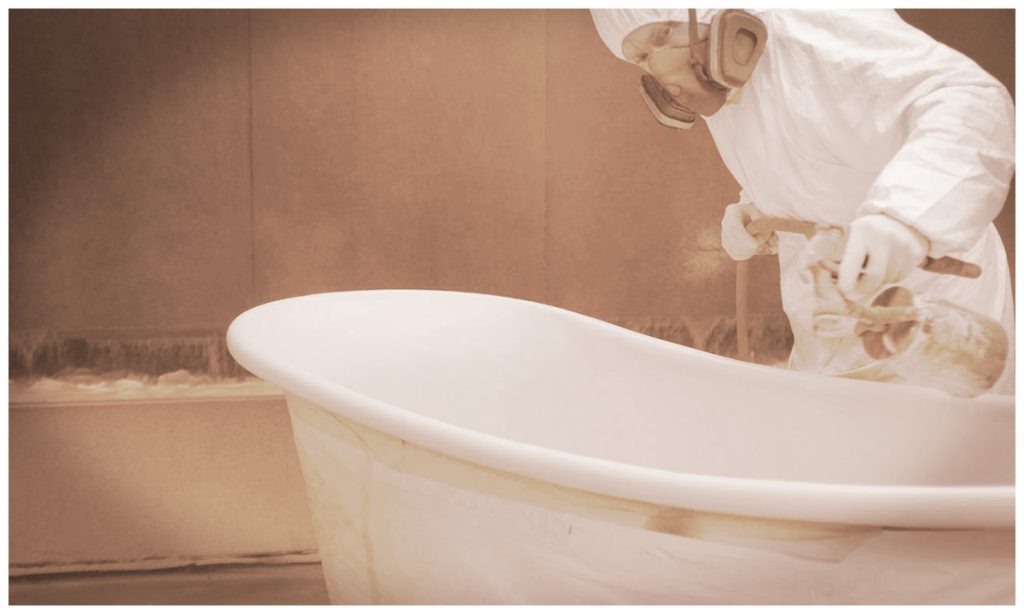
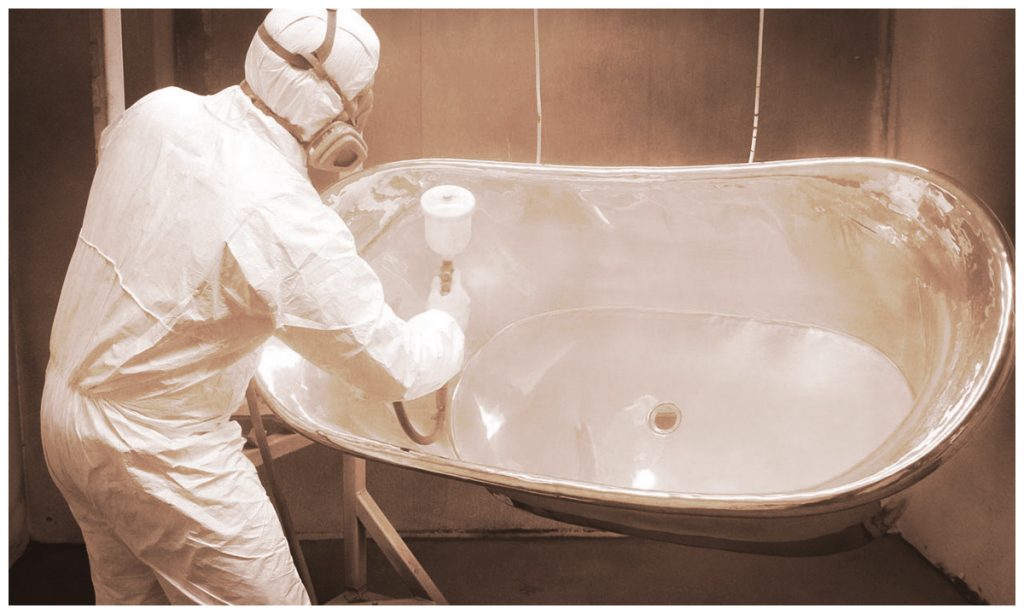
10. Enamel
With bathroom trends heading towards bright, vibrant colours William Holland have developed a system which allows us to apply coloured enamels to the copper base. Firstly we treat the copper with an etching primer to key the smooth surface. We then apply an epoxy stoving primer which acts as the perfect base coat for the enamel. Finally we spray 3 coats of marine grade two part epoxy enamel paint from the RAL colour chart and placed in an oven to bake hard. You can choose from classic white to chic black, baby blue to vivid pink, the choices are simply endless.